-
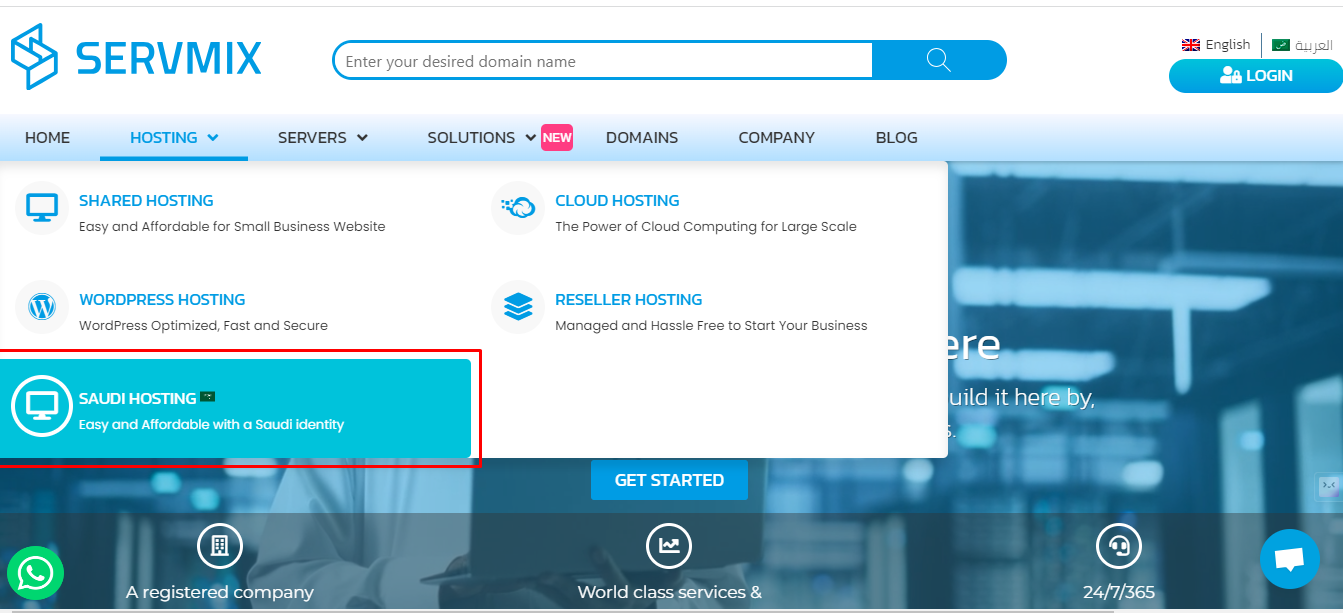
Go to the ServerMix website.
www.servmix.com -
Select "Saudi Hosting".
-
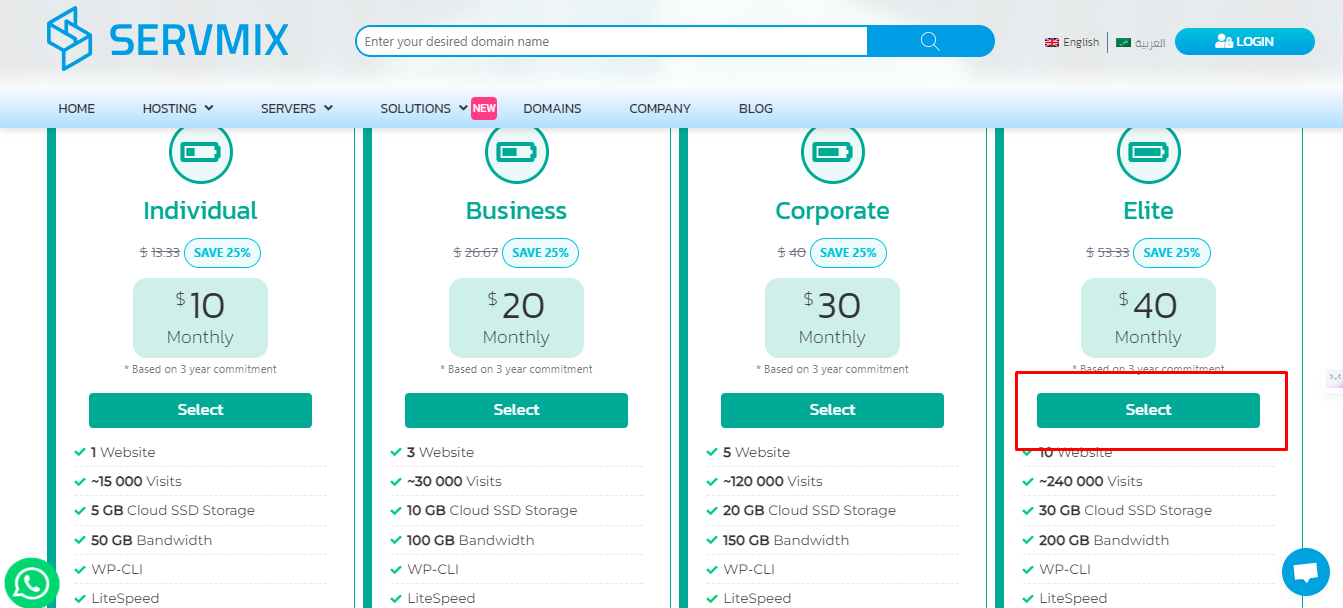
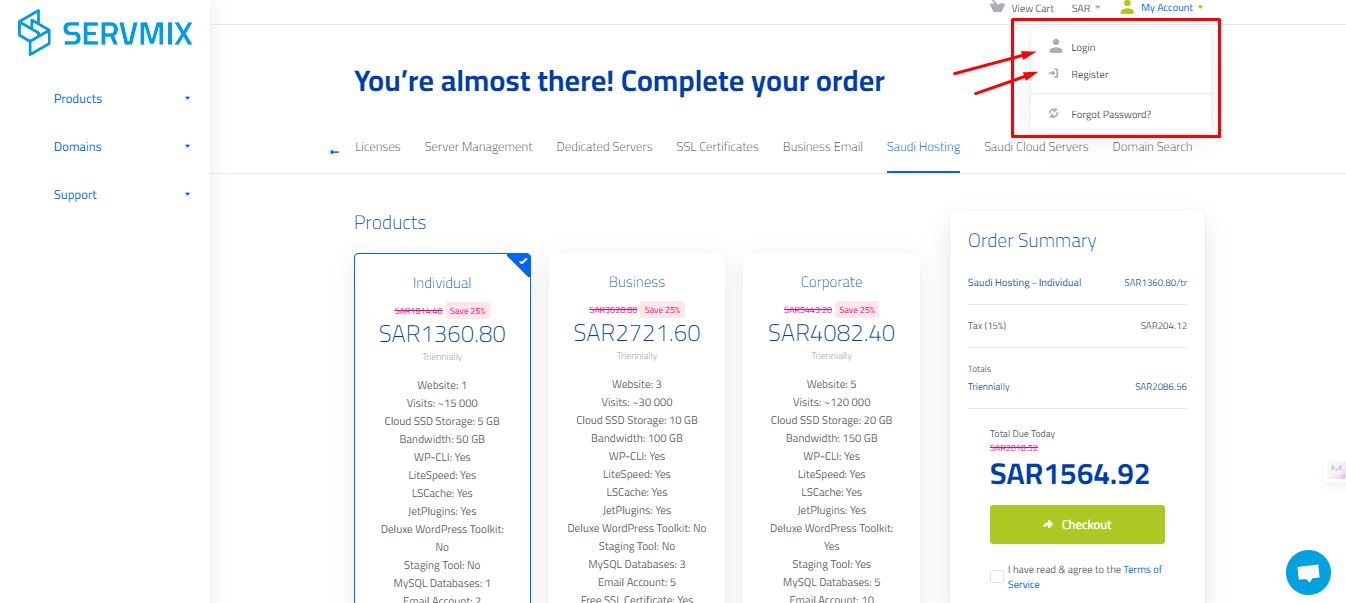
Choose the plan you wish to subscribe to and click "select".
-
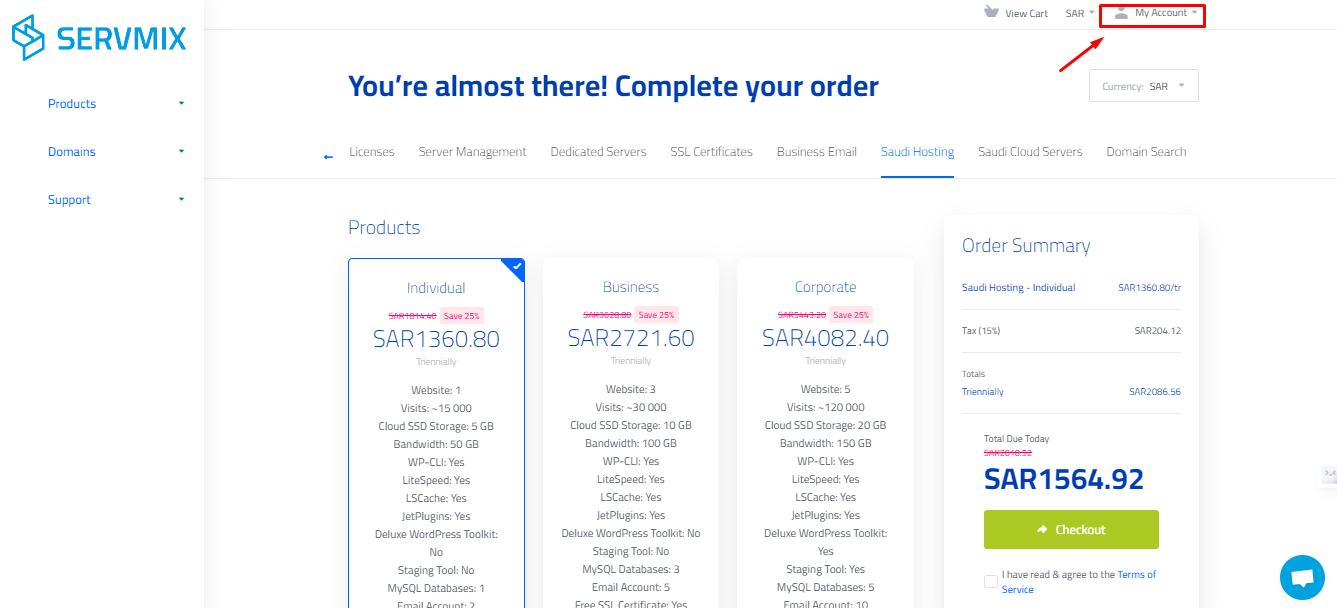
You will be directed to the customer area, but without account information. Click on "My Account" to proceed with the subscription.
-
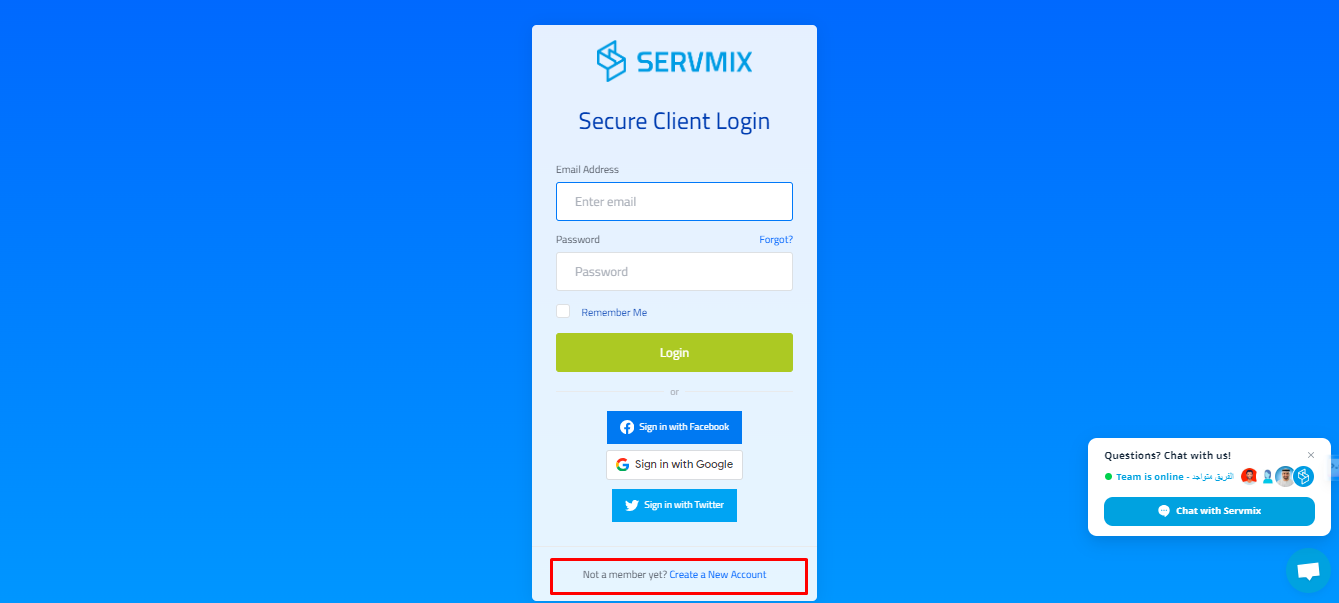
If you already have an account, select "Login" and enter your email and password. Click "Login" to access your account.
-
If you don't have an account, select "Create a New Account" Enter the required personal information or register using your Facebook, Google, or Twitter account.
-
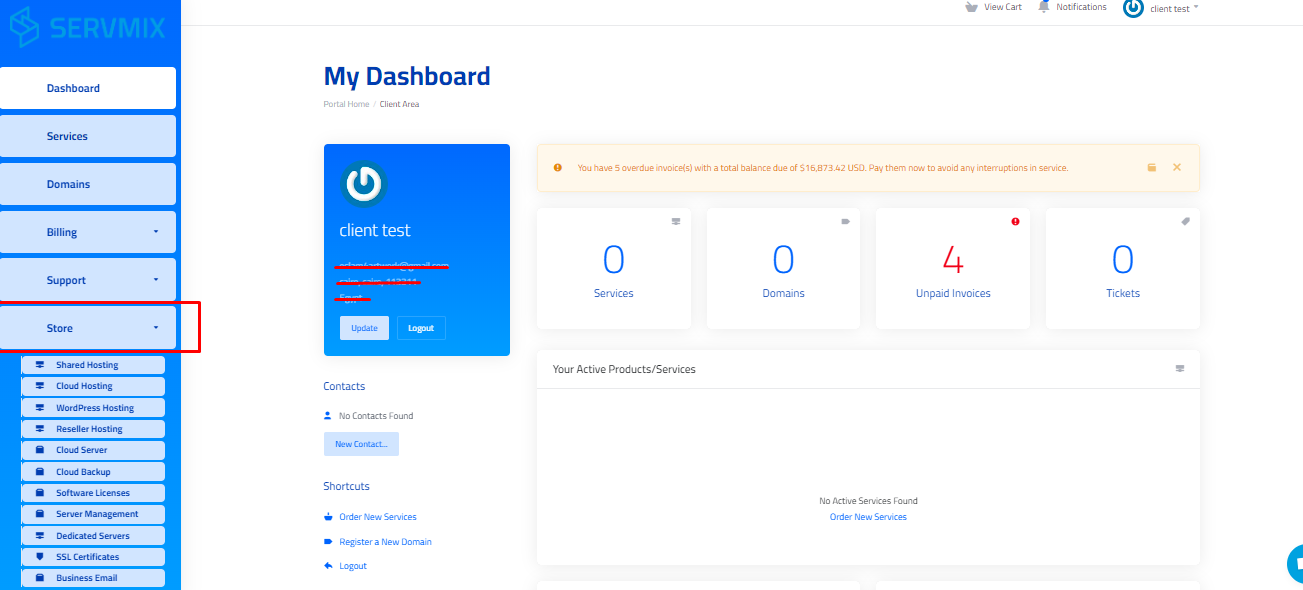
Now you are in your customer area. Go to the "Store" from the menu on the right and select "Saudi Hosting".
-
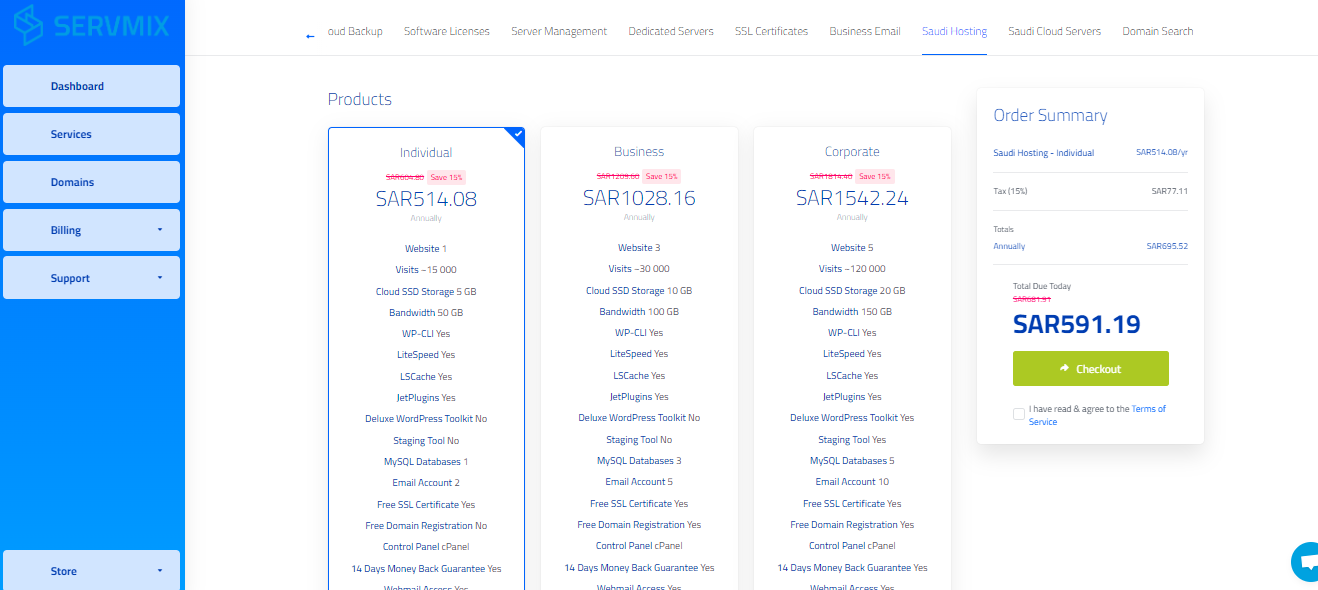
Compare the features of different plans, then select the plan you want to subscribe to.
-
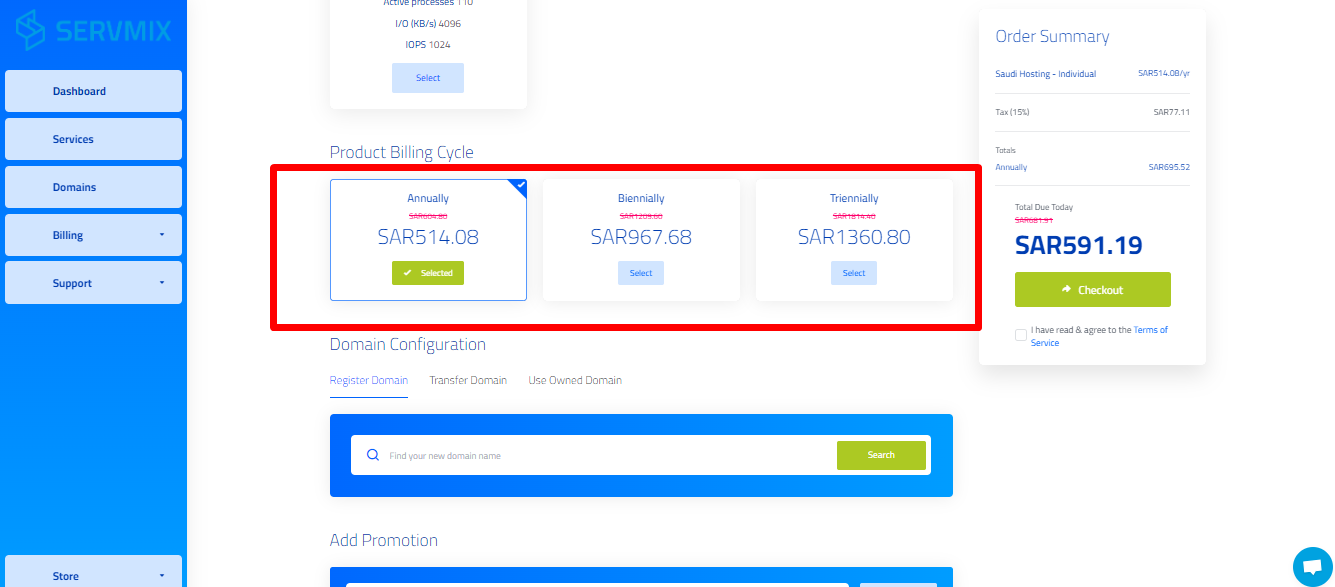
Choose the subscription duration. Don't forget to inquire about discounts for two or three-year subscriptions!
-
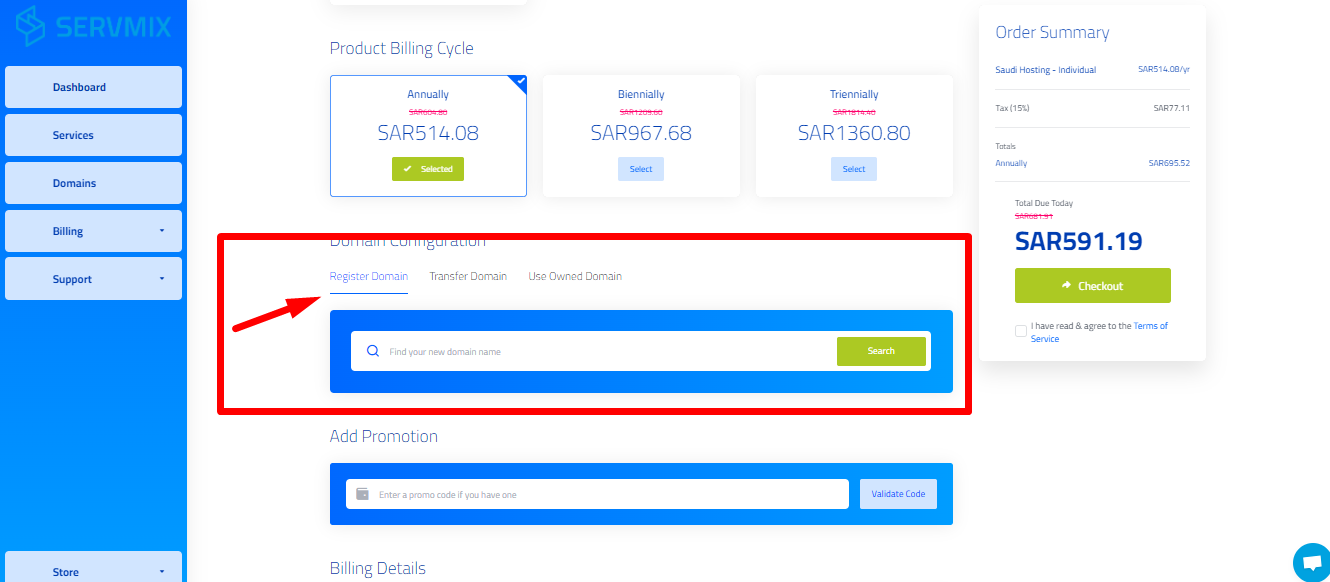
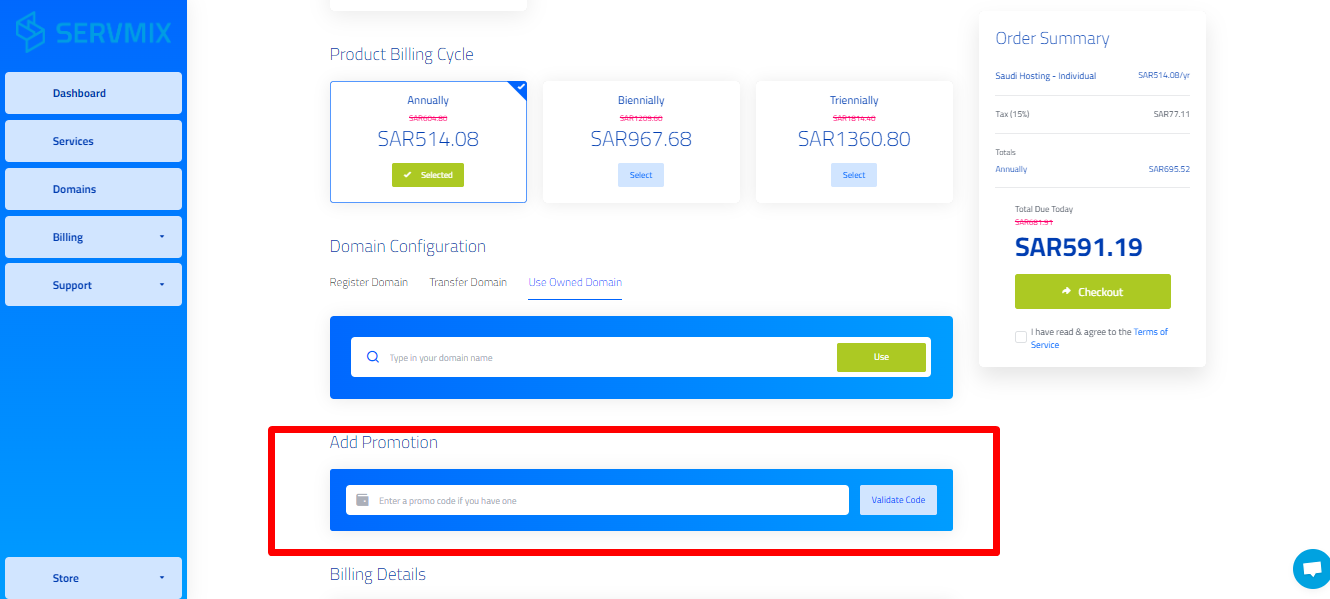
Enter the domain name or choose one of the following options:
- If you want to register a new domain, enter the desired domain name and click "Search" to check its availability. (Domain fees will be added for monthly subscriptions, but inquire about plans that include a free domain for one year or more.)
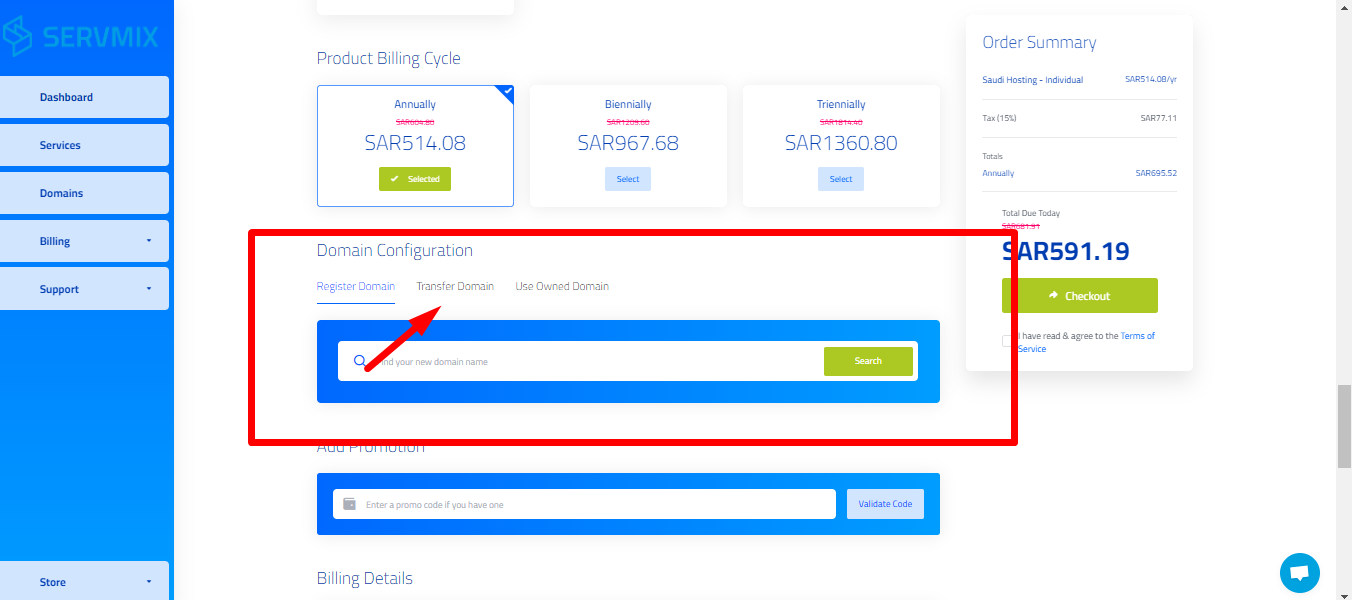
- If you already have a domain and want to transfer it to ServerMix, enter your domain name and click "Search."
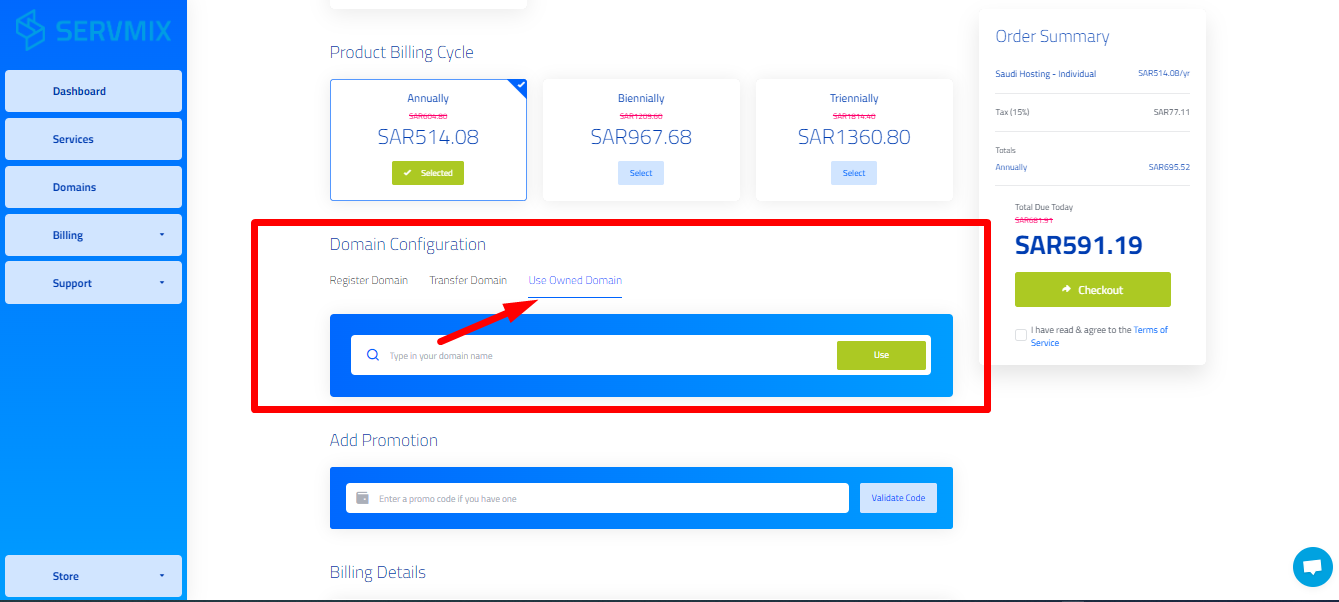
- If you have a domain from another provider and don't want to transfer it, enter your domain name to associate it with your new hosting. Then click "Use."
-
If you have a discount code, enter it and click "Validate Code. The discount will be applied to the base price before taxes
-
Choose your preferred payment method:
- If you have a credit balance in your account after direct bank transfer before membership creation, you can select the first option.
- If you have any notes or comments, you can add them here.
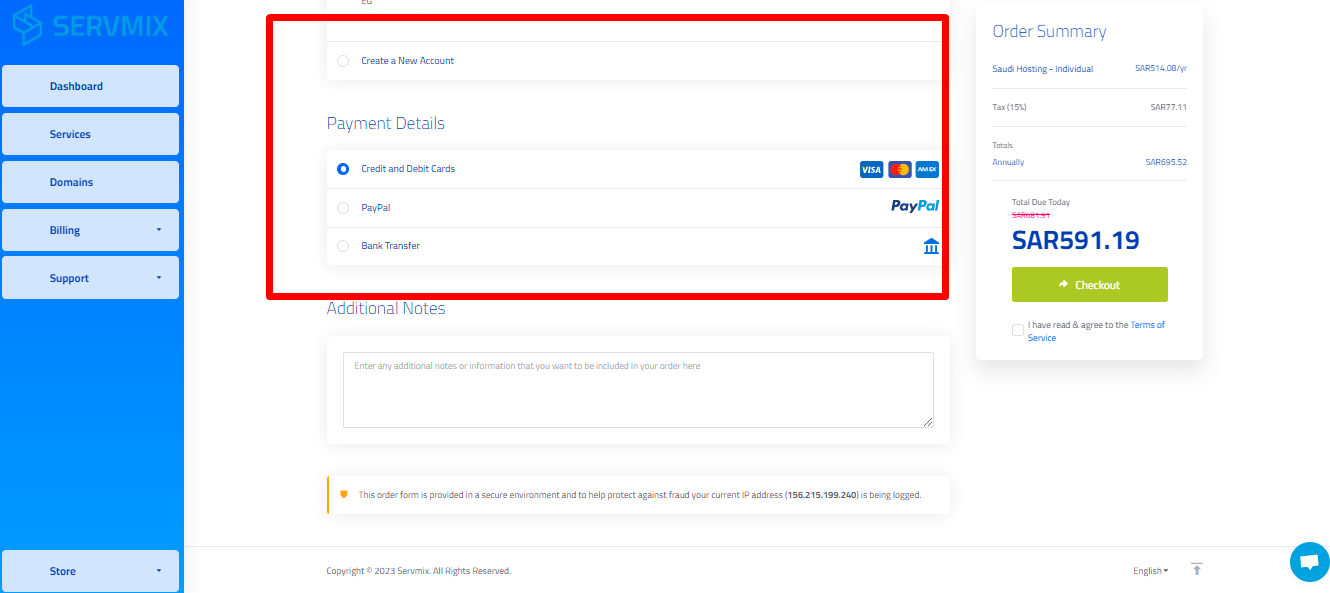
- Click "Agree" to the Service Agreement after reading it. You can read the agreement by clicking on "Service Agreement" . Then, click "Payment" .
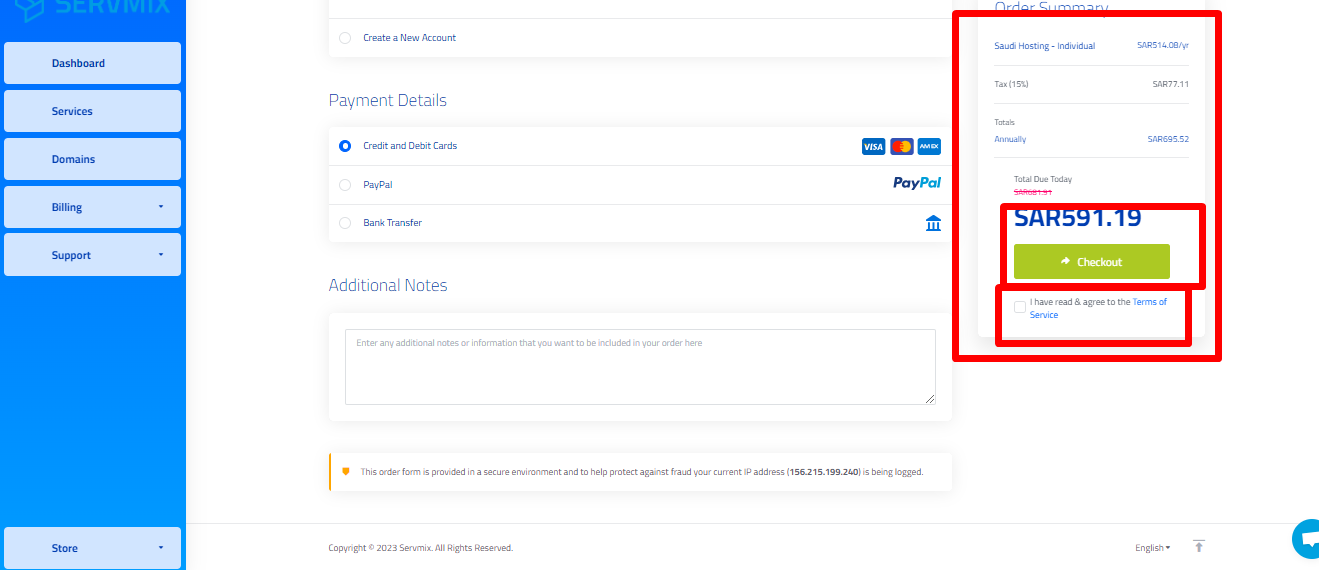
-
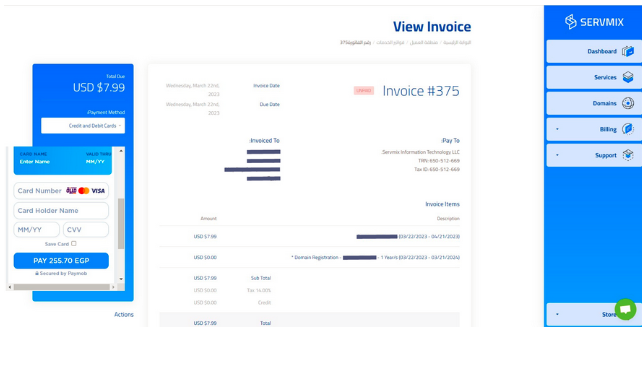
A summary of the invoice will appear as shown in the image. Enter the required payment information, and after the payment is processed, you will receive an email confirming the payment and providing details of your new account.